Custom fields are essential for adding extra information to WordPress user profiles, enhancing your site’s personalization and functionality. Elementor, with its dynamic content capabilities, allows you to display user custom fields on your website easily. This guide walks you through the process of displaying user custom fields using Elementor.
Prerequisites
- WordPress Installed: Ensure WordPress is up and running on your site.
- Elementor Pro: The Pro version is required for dynamic content features.
- Advanced Custom Fields (ACF) Plugin: This plugin simplifies adding custom fields to user profiles.
Step 1: Adding Custom Fields to User Profiles
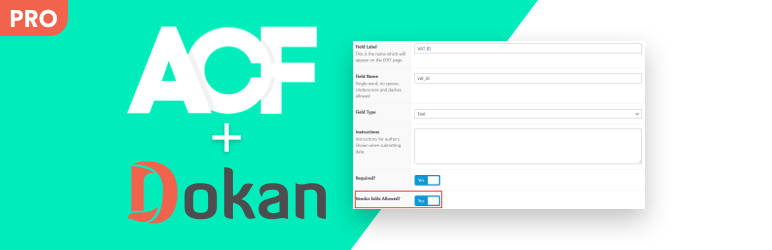
- Install and Activate ACF:
- In the WordPress dashboard, navigate to Plugins > Add New.
- Search for Advanced Custom Fields.
- Install and activate the plugin.
- Create Custom Fields for Users:
- Go to Custom Fields > Add New.
- Create a new field group, e.g., “User Details”.
- Add fields such as Phone Number, Department, or Location.
- Set the location rule to User Form to ensure these fields appear in user profiles.
- Publish the field group.
Step 2: Populating Custom Fields for Users
- Navigate to Users > All Users in the dashboard.
- Edit a user profile.
- Fill in the values for the custom fields created.
- Save the user profile.
Step 3: Displaying User Custom Fields with Elementor
- Create or Edit a Template:
- Go to Templates > Theme Builder in Elementor.
- Create a new template for the Single User page or edit an existing one.
- Add Dynamic Content Widgets:
- Drag a Text Editor widget onto the page template.
- In the widget settings, click on the dynamic tags icon in the text editor panel.
- Select ACF User Field from the dropdown.
- Select and Configure Fields:
- Click the wrench icon next to ACF User Field.
- Choose the specific custom field, such as Phone Number, you want to display.
- Repeat the process for each custom field you wish to show.
- Customize and Style:
- Style the widgets using Elementor’s design options to match your site’s theme.
- Arrange the widgets to ensure a clear and user-friendly layout.
- Save and Publish:
- Save the template.
- Set display conditions if needed, such as showing the template for specific user roles or profiles.
Step 4: Testing
- View a user profile page on your site to confirm that the custom fields are displayed correctly.
- Make any necessary adjustments in Elementor to improve the presentation.
Conclusion
Using Elementor to display user custom fields, is a powerful way to enhance the functionality of your WordPress site. By following this guide, you can dynamically showcase additional user information, enriching the user experience and enabling more personalized interactions on your site. You can refer here for the guide for displaying custom fields for products.